Getting Your Embed Code
A step-by-step guide to generating embed code for AutoPod widgets and adding them to your website.
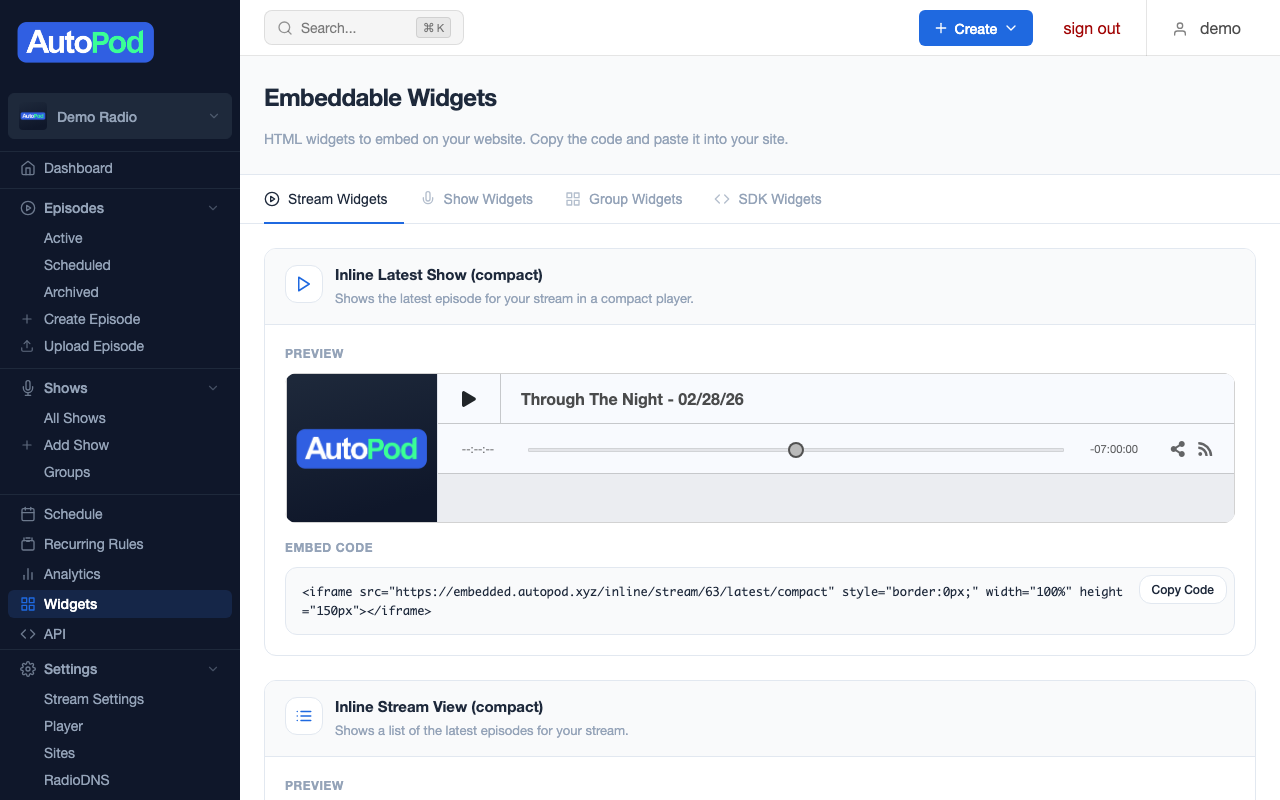
Step 1: Open the Widgets page
Go to Widgets in the dashboard sidebar. You'll see tabs for different content scopes:
| Tab | What it does |
|---|---|
| Stream Widgets | Widgets that show content from your entire station |
| Show Widgets | Widgets filtered to a specific show |
| Group Widgets | Widgets that combine content from a show group |
Choose the tab that matches what you want to display.
Step 2: Choose a widget type
Select a widget type from the dropdown. You'll see a live preview of how it will look.
Step 3: Configure the widget
Depending on the widget type, you may be able to configure:
- Content source — Which stream, show, or group to display
- Episode limit — How many episodes to show (for list widgets)
- Theme — Light, dark, or system (follows visitor's device preference)
- Accent colour — Match your website's colour scheme
- Variant — Default, minimal, or borderless styling
The preview updates as you change settings so you can see the result before copying.
Step 4: Copy the embed code
Click the Copy button. The embed code is copied to your clipboard. It looks like this:
<!-- AutoPod Widget SDK (add once per page) -->
<script src="https://embedded.autopod.xyz/sdk/autopod-widgets.js"
        data-autopod-api="https://player.autopod.xyz"
        data-autopod-rss="https://rss.autopod.xyz"></script>

<!-- Widget (add wherever you want it to appear) -->
<div data-autopod-widget="episodes"
     data-station="your-station-slug"
     data-limit="10"></div>
Step 5: Paste into your website
The embed code has two parts:
1. The SDK script (add once per page)
Add the <script> tag to your page's <head> or before the closing </body> tag. You only need this once per page, even if you have multiple widgets.
2. The widget element (add wherever you want)
Add the <div> tag wherever you want the widget to appear in your page content. You can add multiple widget elements on the same page.
Example: Adding an episode player to your homepage
<!DOCTYPE html>
<html>
<head>
    <title>My Station</title>
    <!-- Add the SDK script once -->
    <script src="https://embedded.autopod.xyz/sdk/autopod-widgets.js"
            data-autopod-api="https://player.autopod.xyz"
            data-autopod-rss="https://rss.autopod.xyz"></script>
</head>
<body>
    <h1>Welcome to My Station</h1>

    <!-- Episode player widget -->
    <div data-autopod-widget="player"
         data-station="my-station"></div>

    <!-- Schedule below the player -->
    <div data-autopod-widget="schedule"
         data-station="my-station"></div>
</body>
</html>
Adding to website builders
WordPress
- Add a Custom HTML block (in the block editor) or use the Text tab (in the classic editor)
- Paste the full embed code (both the script and the widget div)
Squarespace
- Add a Code block to your page
- Paste the embed code
- Save and publish
Wix
- Add an HTML iframe element
- Paste the embed code in the code panel
Other platforms
Any website builder that supports custom HTML will work. Look for "HTML embed", "code block", or "custom code" in your platform's editor.
Multiple widgets on one page
You can have as many widgets as you want on a single page. Just include the SDK script once and add as many widget <div> elements as you need:
<script src="https://embedded.autopod.xyz/sdk/autopod-widgets.js"
        data-autopod-api="https://player.autopod.xyz"
        data-autopod-rss="https://rss.autopod.xyz"></script>

<div data-autopod-widget="listen-live" data-station="my-station"></div>
<div data-autopod-widget="episodes" data-station="my-station" data-limit="5"></div>
<div data-autopod-widget="schedule" data-station="my-station"></div>
All widgets on the page share the same audio engine — if a listener starts playing an episode from the Episodes widget, the playback state syncs to the Inline Player widget automatically.