Setting Up Your Site
A step-by-step guide to enabling and configuring your AutoPod Sites website.
Step 1: Enable Sites
- Go to Stream Settings → Sites in the dashboard
- On the Settings tab, toggle Enabled to on
- Click Save
Your site is now live. Visit it at:
https://sites.autopod.xyz/station/{your-stream-id}/
Everything below is optional customisation — your site works with sensible defaults straight away.
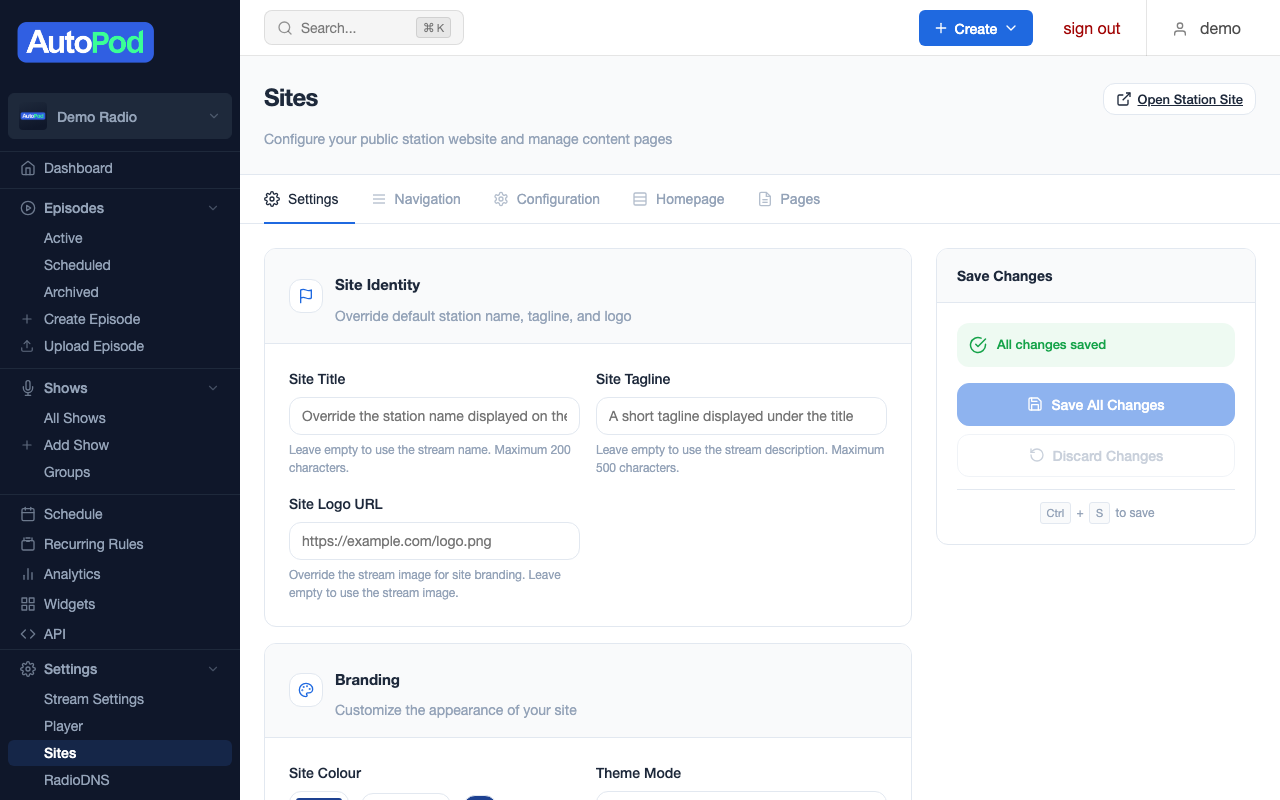
Step 2: Set your branding
On the Settings tab, configure your site's identity:
| Setting | What it does | Recommendation |
|---|---|---|
| Site Title | Override the station name shown on the site | Leave blank to use your stream name |
| Tagline | Short description below the title | One sentence that captures your station's identity |
| Logo | Custom logo image | Leave blank to use your station image |
| Colour | Primary accent colour (#RRGGBB) | Use your station's brand colour |
| Theme Mode | Auto (system), Light, or Dark | Auto works for most stations |
| Hero Image | Banner image for the homepage header | A photo of your studio, presenters, or local area |
| Custom Footer | Replace the default footer text | Your station's tagline, copyright, or contact info |
SEO settings
These control how your site appears in Google search results and social media shares:
- Meta Title — Custom page title for search results (max 200 characters)
- Meta Description — Description shown in search results (max 500 characters, aim for under 160)
If left blank, these default to your site title and tagline.
Step 3: Add social and podcast links
Switch to the Navigation tab.
Social links
Add links to your station's social media profiles. These appear in the site footer:
- Twitter / X
- YouTube
- TikTok
- Website (your main station website, if separate)
Podcast directory links
Add links to your feeds on podcast platforms. These appear alongside episodes so listeners can subscribe in their preferred app:
- Apple Podcasts
- Spotify
- Other directories
Step 4: Configure features
Switch to the Configuration tab.
Section toggles
Enable or disable each section of your site. All are on by default except Listen Live:
- Episodes — The main episodes archive
- Shows — Shows listing page
- Schedule — Schedule pages (today's schedule, weekly view, now/next)
- Search — Full-text episode search
- Presenters — Presenter profiles and their episodes
- Now Playing — What's on now and coming up next
- Listen Live — Button linking to your live stream in the player
Custom navigation
Add extra links to the navigation menu. Each link has:
- Label — What the link says
- URL — Where it goes
- Open in new tab — Whether it opens in a new window
Useful for linking to your station's main website, donation page, or contact form.
Advanced settings
- Custom CSS — Add your own CSS to customise the site's appearance beyond the standard settings. See Custom CSS.
- Analytics Code — Add third-party analytics tracking (Google Analytics, etc.). Only external script sources from approved providers are allowed for security.
Step 5: Build your homepage
Switch to the Homepage tab.
The homepage builder lets you arrange content blocks to create a custom landing page. See Homepage Builder for full details.
Default layout (if you don't customise):
- Latest episodes
- Now playing / what's on next
- All shows
- Featured content
You can rearrange these sections and add your own content blocks (text, images, embeds).
Step 6: Create custom pages (optional)
Switch to the Pages tab to create additional pages beyond the built-in sections.
See Custom Pages for details.
What your site looks like
Once configured, your site has:
- A navigation bar with links to Episodes, Shows, Schedule, Presenters, Search (and any custom links)
- A homepage with your chosen layout
- Show pages with artwork, description, and episode listings
- Episode pages with play button, description, and sharing options
- Presenter pages listing all presenters and their episodes
- A schedule page showing today's programming and the full week
- A search page for finding specific episodes
- A footer with your social links and custom text
All pages are responsive and work on mobile, tablet, and desktop.
Next steps
- Homepage Builder — Customise your landing page layout
- Custom Pages — Create additional content pages
- Custom Domains — Use your own domain
- Custom CSS — Fine-tune the visual design