4. Adding Your Schedule
note
Assuming that AutoPod has been setup for you by a member of our team, the initial schedule for the station should already be present. Following the initial setup you will need to make further changes yourself.
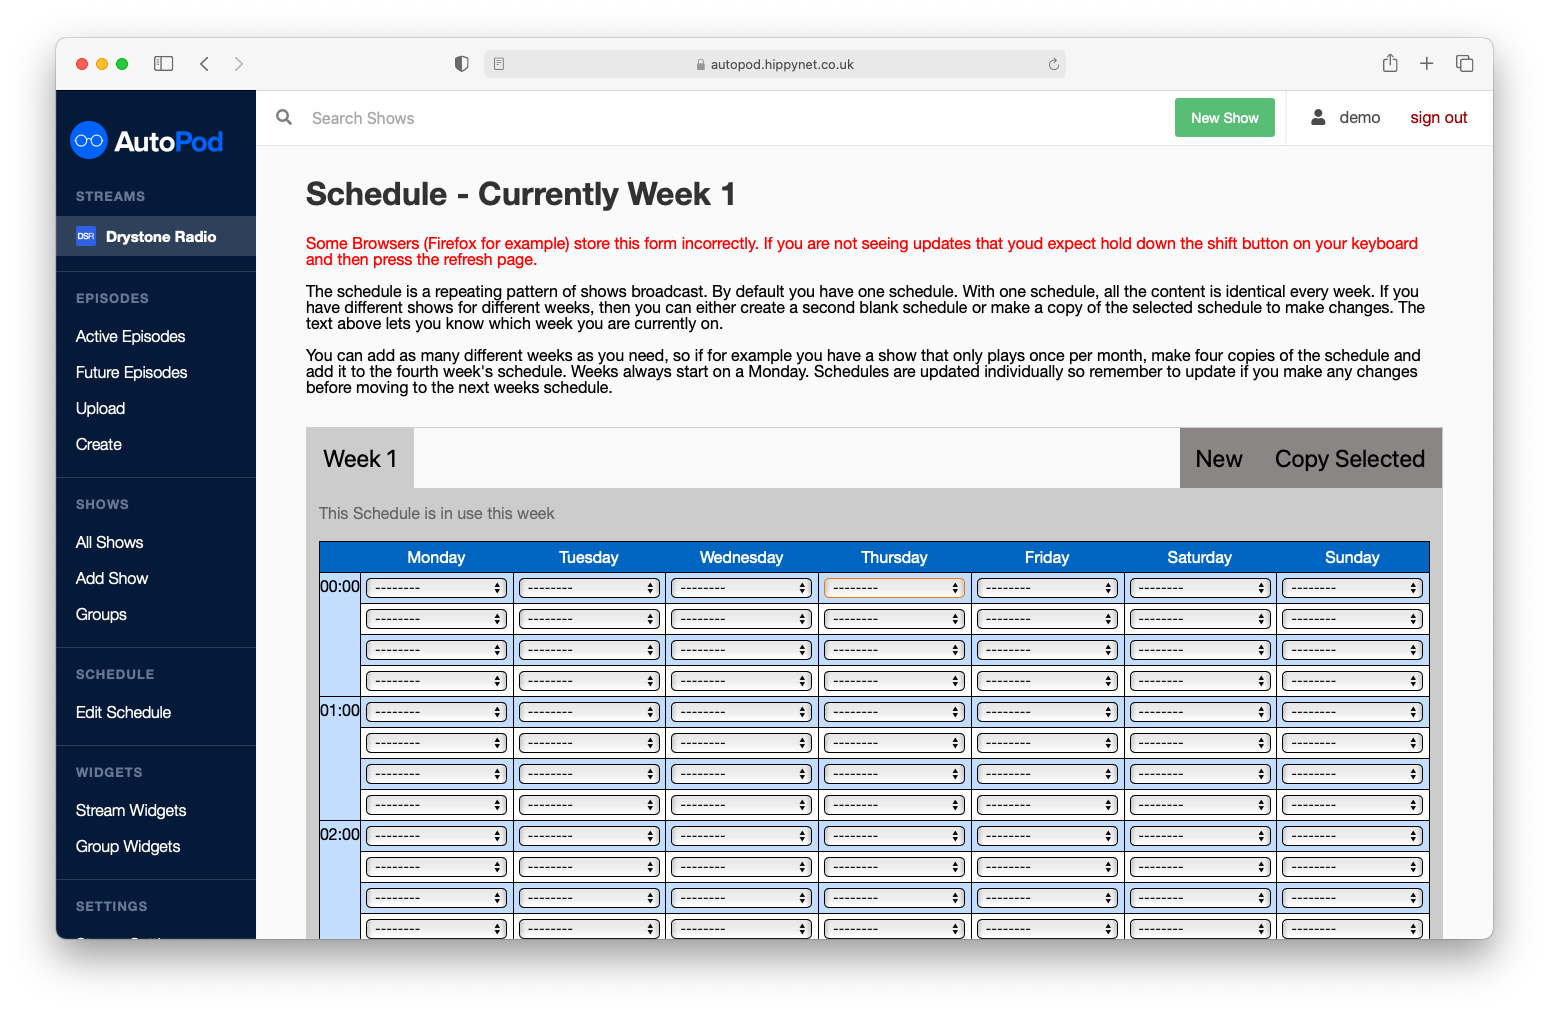
The schedule within AutoPod is configured in 15 minute chunks. We do this using a series of dropdown boxes, each corresponding to a block of time.
Selecting two or more items directly next to one another of the same show will be made into a single episode. Shows that are scheduled 'across days' (e.g. 23:00 - 01:00) will be automatically created as a single show, however within the 'Future Episodes' page, the end time may not be exactly as you expect until a few hoursbefore midnight (this is when our automated scheduling service creates the next days worth of events).
We generate scheduled episodes using the schedule as a template once per 24 hours at approximately 23:30 UTC/GMT.
If you make changes to the schedule for the current day they will not be updated automatically. You would need to manage this by creating manual episode recordings in the 'Create' episode page
Making Changes#
RadioDNS Schedule Converter
If AutoPod has been configured to use RadioDNS to import your schedule automatically then you do not need to configure the schedule within AutoPod itself and this page should be left blank.
It is possible to make changes to your schedule easily using the AutoPod dashboard. Although the interface at first glance may appear slightly intimidating, we have found it to be the simplest and most accessible way to visually represent the output of your station.
The schedule is used as a template for the generation of individual episodes, if you are familiar with Playout systems and the concept of building 'Clocks' and a 'List Assign' the basic principles are the same.
Editing the Schedule#
- Navigate to the Edit Schedule page within the AutoPod Dashboard (this can be found in the sidebar within the schedule section.) You will need to have created Shows already for the show to be scheduled.

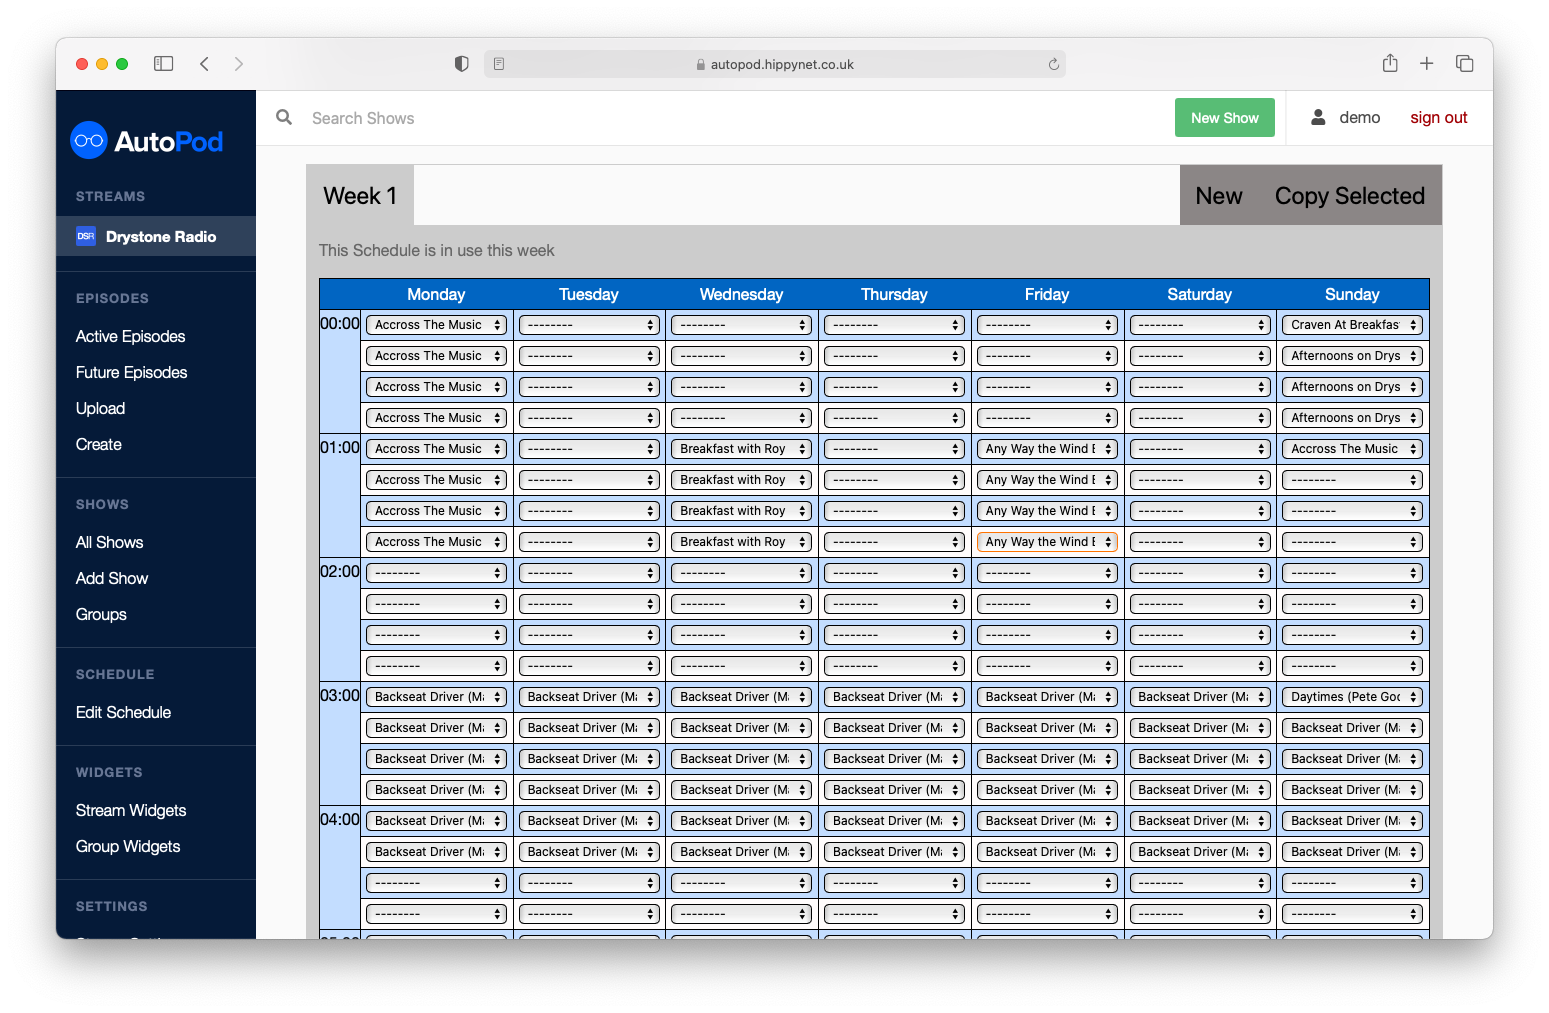
- Using the drop down boxes, select the shows and add them to the appropriate times. The image below shows an example schedule filled in. The schedule is in 24 hour format so although the image below shows you what a schedule may look like, for the purposes of getting a more useful screenshot the shows are actually scheduled in the middle of the night.

- Save changes
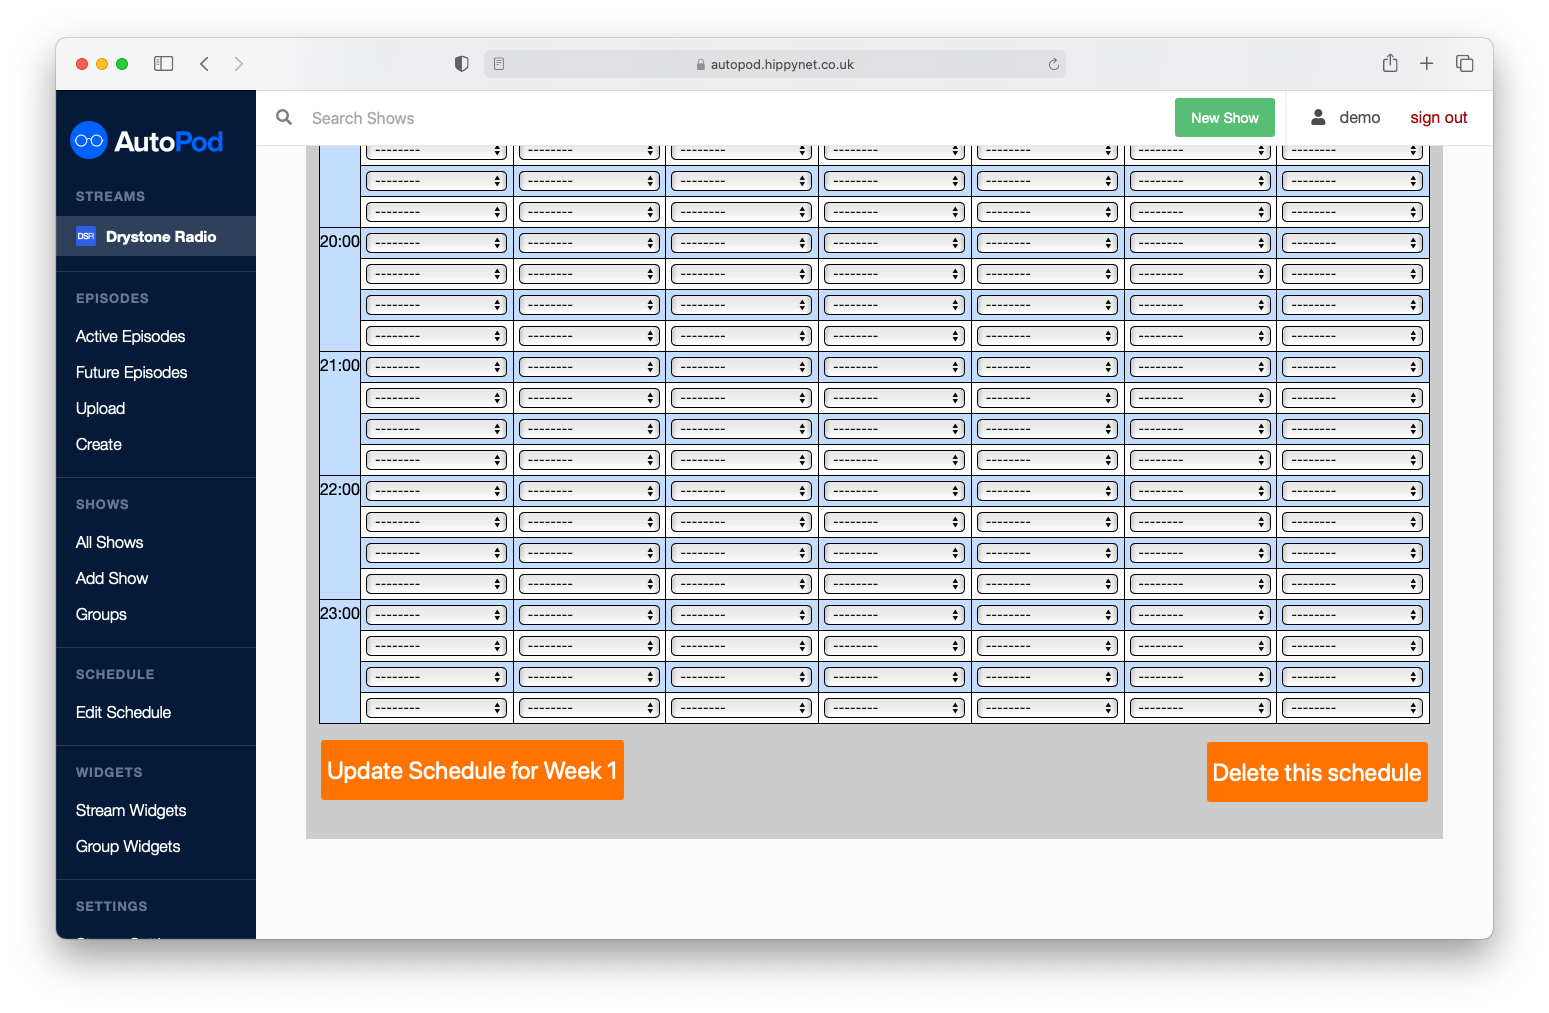
Once you are happy with the changes click the 'Update schedule for week X' option at the bottom of the page (where X represents the week that you are currently editing). The schedule will overwrite any existing content for the selected week's worth of schedule and will take a few seconds to update.

Whilst the schedule is saving the dashboard will change to show 'Loading' text. Do not navigate away or refresh the page as this is taking place as it could (in rare instances) result in the loss of the schedule.
Multiple Weeks#
For the majority of stations, the schedule does not neatly fit into a single week pattern. AutoPod allows for the creation of additional weeks and will cycle round the weeks that are avaialble too it. This allows for an A week and a B week (up to as many weeks as needed). This feature also facilitates the ability to have a special one off week of schedule changes, the best example of this likely being around Christmas where the schedule is prone to changes.
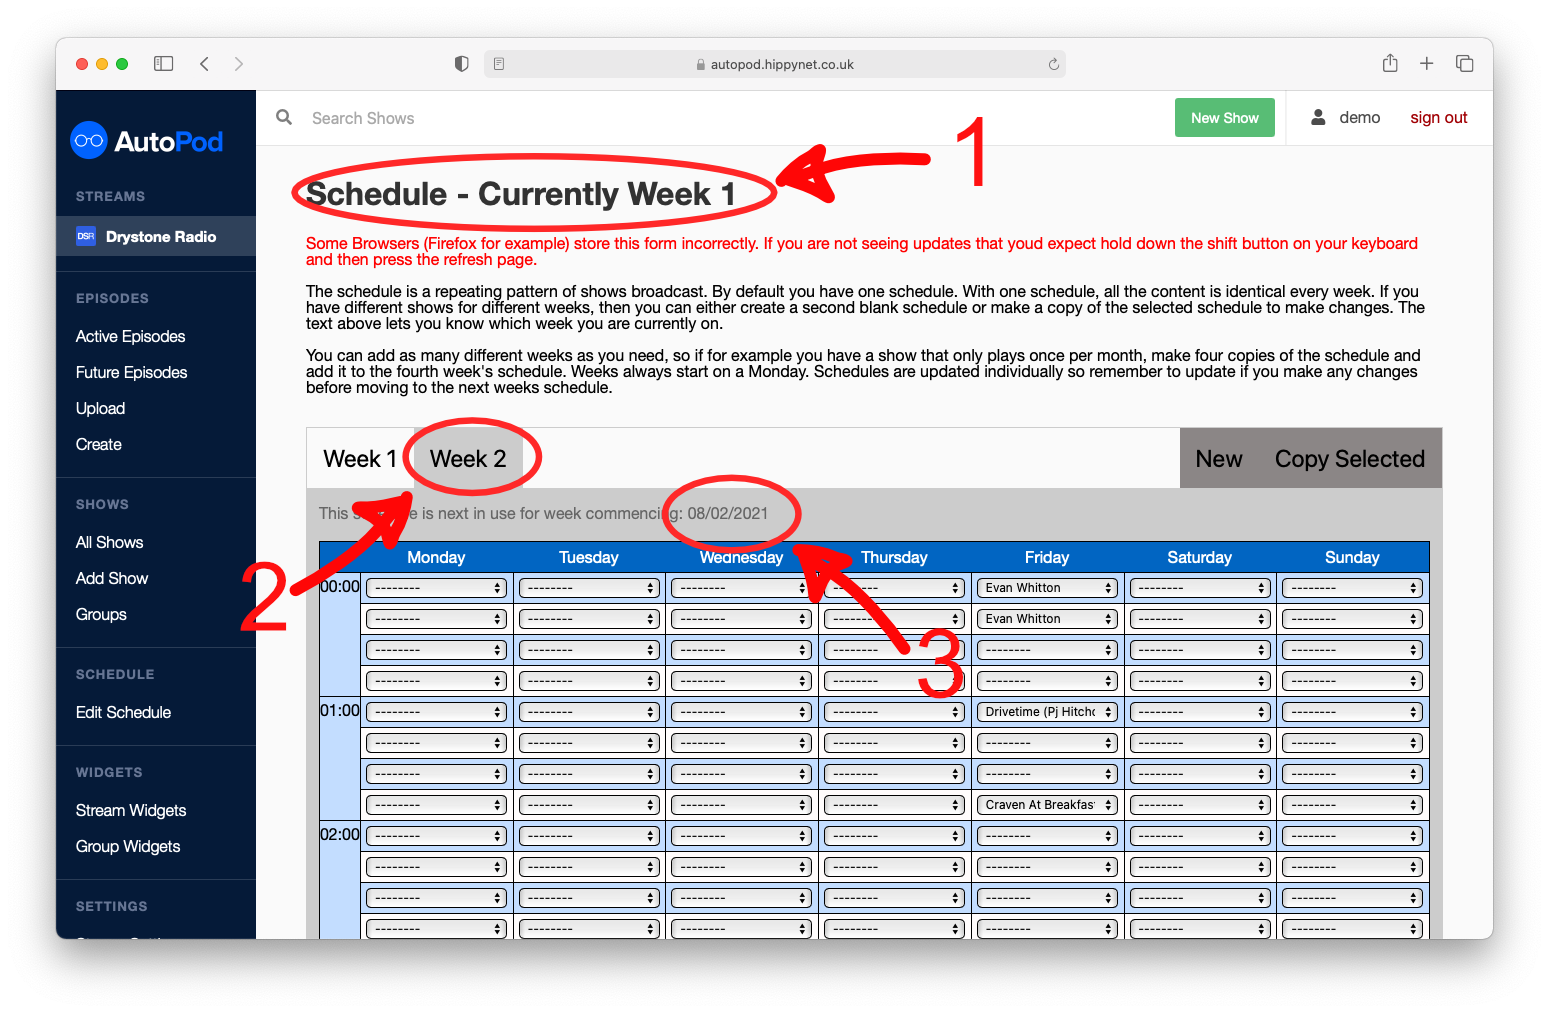
The current week that is being used is shown at the top of the edit schedule page and the date that a given week is going to be used on will be displayed at the top of the edit schedule tab (as demonstrated below)

- shows the current week
- shows the selected week schedule for editing
- shows the date that the seleted schedule will commence from
For reference, the screenshot above was taken on Saturday 6th Feb 2021, so the schedule for week 2 would have started on Monday 8th Feb, followed again by week 1 on the 15th Feb in a 2 week cycle. If I added more weeks then the dates would be updated to show when the week was next in use.
Copy an existing week#
The 'Copy Selected' button to the top right of the open schedule will copy this schedule to a brand new week. This is particularly useful if you have multiple weeks worth of schedule where only one or two shows are differenr and means that you do not have to enter the current schedule multiple times (which trust us from experience can be quite tedious).
This option is also useful if you are making temporary changes to the schedule allowing you to create a copy, work on the copy and still have your original schedule in place.
Finally, if you are making large changes to the schedule, we recommend making a copy of the schedule that you are making changes to, editing the new copy and then deleting the original schedule when done, this just means that you are making 'non-destructive' changes whilst you make edits is a non-essential but generally good practice.
Create a new blank week#
This option adds a new blank week to the end of the list of weeks, which you can edit and change as you see fit.
danger
Refreshing the page whilst schedule changes are being submitted can result in the whole schedule being lost. this is why we always recommend making a backup copy of your schedule whilst making changes so in worst case scenario you can still get things back easily. We take a backup of schedules every day so if the worst does happen let us know and we can recover this for you.